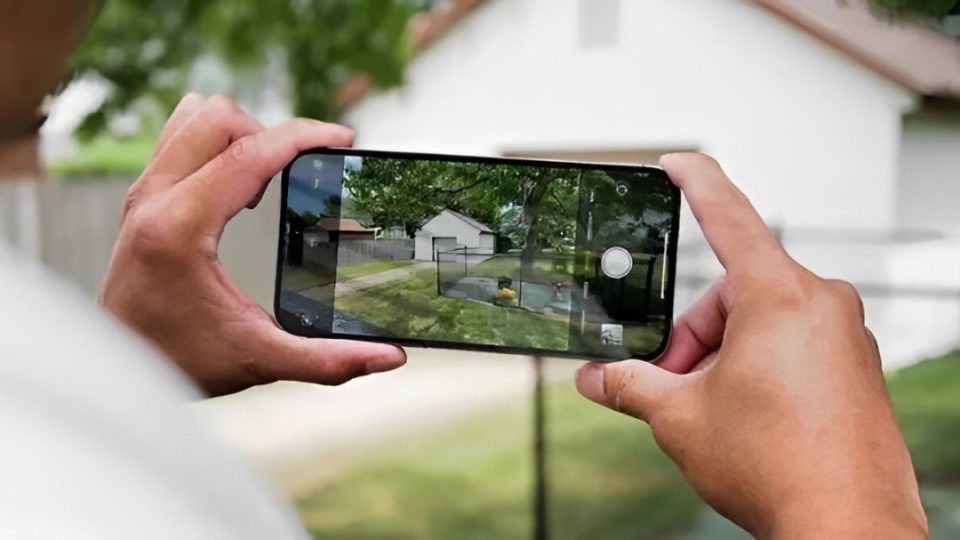
The iPhone camera offers a variety of modes, each designed to help you capture the perfect shot. Whether you’re a casual photographer or someone looking to enhance your skills, understanding when and how to use these modes can elevate your photos and videos. Let’s explore the best ways to use each iPhone camera mode effectively.
Photo Mode – Your Everyday Go-To
Best For: General photography, quick snapshots
The default Photo mode is ideal for capturing everyday moments, from spontaneous selfies to scenic views. It adjusts automatically to lighting conditions, making it great for casual users who want a no-fuss experience.
Tips:
Use the grid lines (Settings > Camera > Grid) to improve composition with the rule of thirds.
Tap the subject on the screen to adjust focus and exposure.
Try the Live Photo feature to capture subtle movements for dynamic shots.
Portrait Mode – Beautiful Background Blur
Best For: Portraits, pets, or objects with a soft, blurred background (bokeh)
Portrait mode uses depth effects to keep the subject in focus while blurring the background, giving a professional look to photos.
Tips:
Use Portrait Lighting options for dramatic effects (like Studio Light or Stage Light).
Make sure your subject is at the right distance to achieve the blur.
This mode also works well for close-up shots of objects, adding a premium touch.
Night Mode – Low Light, No Problem
Best For: Photos in dimly lit environments, such as nightscapes or indoor settings
Night mode activates automatically in low-light conditions, allowing for detailed and well-lit photos without the need for a flash.
Tips:
Keep the phone steady or use a tripod to avoid blurriness.
Adjust the exposure slider to increase or decrease the amount of light captured.
Look for light sources like street lamps to add depth to your night shots.
Panorama Mode – Capture It All
Best For: Wide landscapes, group shots, or large spaces
Panorama mode lets you take ultra-wide photos by stitching multiple images together as you move your phone across a scene.
Tips:
Hold the phone steady and move it slowly for smooth results.
Use it for group photos where everyone can’t fit in a regular frame.
Try vertical panoramas for tall subjects like buildings or trees.
Time-Lapse – Turn Hours into Seconds
Best For: Capturing changes over time, such as sunsets, crowds, or clouds moving
Time-lapse mode compresses long periods into a short video, creating a fast-forward effect.
Tips:
Use a tripod to keep the phone steady for smooth playback.
Record at least a few minutes for a meaningful time-lapse.
Experiment with different subjects, like city streets or natural scenery.
Slow Motion – Capture Every Detail
Best For: High-energy moments, such as sports or water splashes
Slow-motion mode records video at a high frame rate, allowing you to replay fast-moving actions in stunning detail.
Tips:
Use it for action shots, like running pets or athletes in motion.
Avoid shaky hands—use a stabilizer or steady surface for smoother results.
Test it on water movements (like waves or fountains) for visually striking clips.
Cinematic Mode – Create Movie-Like Videos
Best For: Storytelling with professional-style focus transitions
Cinematic mode uses depth control to shift focus smoothly between subjects, perfect for capturing emotional moments with a film-like touch.
Tips:
Tap different subjects to change focus while recording.
Use it for interviews, travel videos, or capturing family moments.
Experiment with the focus slider in post-editing for added creativity.
ProRAW Mode – Ultimate Control for Editing
Best For: Photography enthusiasts who love post-processing
ProRAW mode captures photos with more data, giving you greater control over editing elements like exposure, contrast, and white balance.
Tips:
Use this mode in well-lit environments for best results.
Edit using advanced tools in apps like Lightroom or the Photos app.
Keep in mind that ProRAW files take up more storage, so use it selectively.
Burst Mode – Don’t Miss a Moment
Best For: Fast-moving subjects, such as kids, pets, or sports
Burst mode captures a rapid series of photos, ensuring you don’t miss the perfect moment in action shots.
Tips:
Hold down the shutter button or drag it to the left in the Camera app to activate Burst.
Review the burst collection to select the best frames.
Great for unpredictable moments where timing is crucial.
Video Mode – Capture Life in Motion
Best For: General video recording
Video mode is ideal for recording everyday events, from vacations to family gatherings. The iPhone’s stabilization helps keep footage smooth.
Tips:
Use the 4K resolution setting for high-quality videos.
Tap the screen to adjust focus and exposure mid-recording.
Try switching between lenses (if available) for different perspectives.
Conclusion
Every mode on the iPhone camera serves a specific purpose, designed to help you capture life’s moments in the best way possible. Whether it’s a perfectly framed portrait, a sweeping landscape, or a slow-motion action shot, understanding how and when to use each mode will enhance your photography experience.
Explore the different modes, experiment with new techniques, and make the most of your iPhone camera—because the best shot is often just one mode away.