The Raspberry Pi, renowned for its affordability and versatility, is more than just a hobbyist’s tool—it’s a gateway to innovation. With a bit of creativity and the right components, you can transform this tiny computing powerhouse into a fully functional laptop. Whether you’re a student, educator, or tech enthusiast, this guide explores nine comprehensive ways to craft your personalized Raspberry Pi laptop.
Choose the Right Raspberry Pi Model
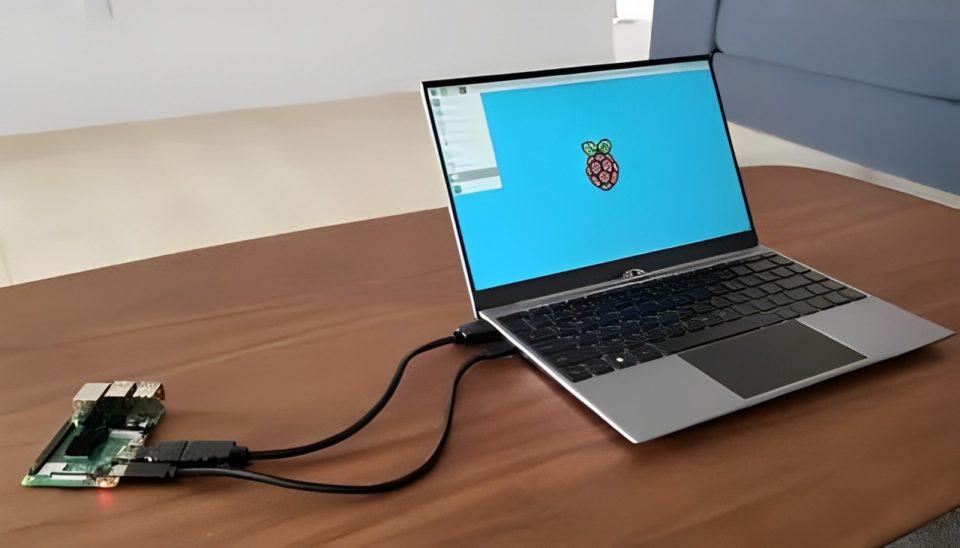
The foundation of your laptop is the Raspberry Pi itself, and selecting the appropriate model is crucial. The Raspberry Pi 4 Model B is the best choice for such a project, thanks to its advanced features, including:
Up to 8GB of RAM for smooth multitasking.
Dual 4K monitor support via micro-HDMI ports.
USB 3.0 for faster data transfer.
A Broadcom Cortex-A72 CPU for enhanced performance.
This model ensures your laptop can handle day-to-day tasks like web browsing, video playback, and light programming with ease.
Invest in a Portable Display
Your laptop needs a screen, and a portable HDMI display is the perfect solution. These compact screens, often powered via USB, are lightweight and easy to integrate. Consider the following factors when choosing a display:
Size and Resolution: A 7-10 inch screen with 720p or higher resolution strikes the perfect balance between portability and usability.
Integrated Features: Displays with built-in speakers or touch functionality add convenience.
Compatibility: Ensure it has HDMI input for seamless connection with the Raspberry Pi.
Some popular options include the Pimoroni HyperPixel or generic USB-powered HDMI monitors.
Use a Compatible Keyboard and Trackpad
Input devices are essential for a functional laptop. Look for keyboards and trackpads designed for compact setups, or opt for Bluetooth devices to minimize cables. Here are your choices:
Integrated Solutions: Kits like the Pi-Top include a built-in keyboard and trackpad.
Separate Components: Bluetooth keyboards with trackpads offer flexibility and wireless convenience.
Compact Keyboards: Foldable or mini keyboards work well for portability.
Power It With a Portable Battery Pack
Portability demands a reliable power source. A high-capacity power bank can run both your Raspberry Pi and the display simultaneously. Keep in mind:
Power Requirements: The Raspberry Pi 4 requires 5V/3A, and most HDMI displays need similar power levels.
Capacity: A 10,000mAh power bank provides several hours of use.
Charging Options: Look for power banks with multiple output ports to power both the Pi and peripherals.
Design or Purchase a Custom Case
A laptop build requires a sturdy and ergonomic enclosure. Depending on your resources, you can either design your own case or buy one. Options include:
3D Printed Cases: Create a laptop-style case tailored to your components.
Pre-Made Kits: Products like the CrowPi or Pi-Top provide modular cases that include space for the Pi, battery, and screen.
DIY Enclosures: Repurpose old laptop shells or bind everything into a compact housing using acrylic sheets.
Add a Cooling Solution
The Raspberry Pi can overheat during intensive tasks, leading to throttled performance. Proper cooling is critical:
Heat Sinks: Passive cooling solutions are simple and cost-effective.
Fans: Compact fans provide active cooling for more demanding projects.
Cooling Cases: Some laptop kits come with built-in fans to maintain optimal temperatures.
Install an Operating System
Your Raspberry Pi laptop needs an operating system to function. Popular choices include:
Raspberry Pi OS: Lightweight and optimized for the hardware.
Ubuntu: Offers a full desktop environment for advanced users.
Windows 11 (ARM): A more experimental option for those familiar with ARM architecture.
Custom Distros: Lightweight Linux distributions tailored for specific tasks like coding or media playback.
Installing an OS is straightforward using the Raspberry Pi Imager tool, which writes the desired system image onto a microSD card.
Expand Connectivity Options
Enhance your laptop’s versatility by upgrading its connectivity capabilities:
Built-in Wi-Fi and Bluetooth: The Raspberry Pi 4 includes these features, but external adapters can boost performance.
USB Accessories: Add LTE modules or external storage drives via USB ports.
GPIO Extensions: Use the GPIO pins for hardware projects like sensors or displays.
Customize Software and Applications
Make your Raspberry Pi laptop functional by installing software tailored to your needs. Recommended apps include:
LibreOffice: For productivity tasks like word processing and spreadsheets.
Chromium Browser: A fast, reliable browser for internet access.
VLC Media Player: Play audio and video files seamlessly.
Programming IDEs: Install Thonny for Python development or VS Code for broader coding projects.
Conclusion
Building a Raspberry Pi laptop is more than just assembling hardware—it’s a journey of creativity and innovation. Each component, from the display to the software, can be customized to suit your preferences and needs.
Whether you’re building a portable coding machine, an educational tool, or just experimenting with DIY projects, transforming your Raspberry Pi into a laptop offers a fulfilling and educational experience.
So, gather your components, design your setup, and bring your vision to life. Share your project with the community, inspire others, and enjoy the satisfaction of creating a unique and functional Raspberry Pi-powered laptop!